
Anaconda を用いて,Python, Jupyter Lab の環境構築
Anaconda 環境による,Jupyter lab で Python を動かせる環境構築方法の覚え書き.
環境は,
- Windows 10
- conda version: 4.10.3
- Jupyter Lab 3.2.4
Anaconda のインストール
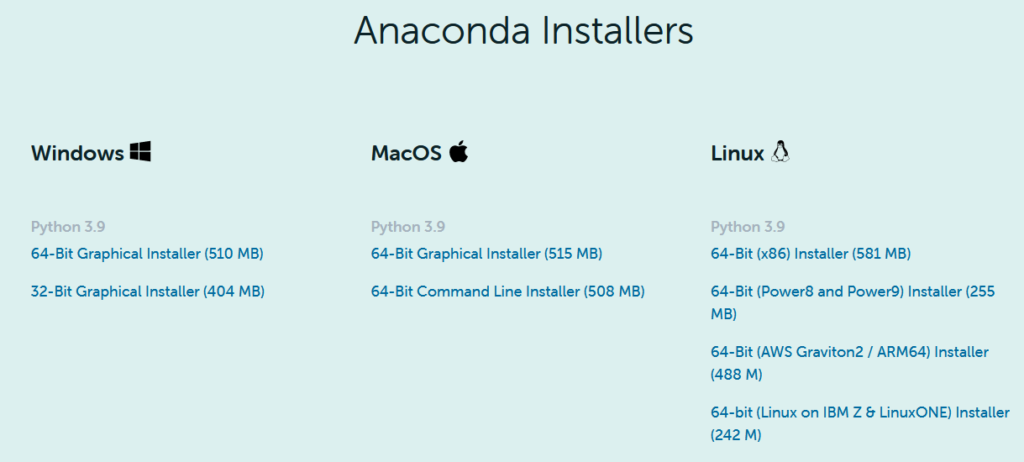
Anaconda の公式サイトにアクセスし,ページ下部より該当するインストローラーをダウンロードする.
Anaconda “Individual Edition” https://www.anaconda.com/products/individual
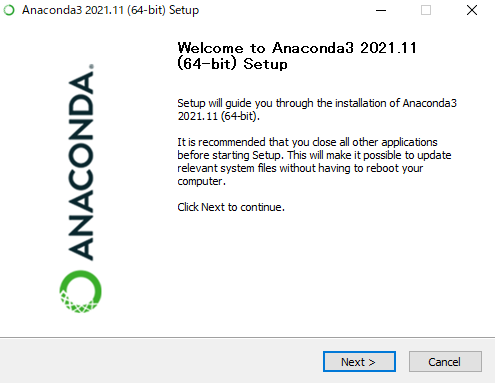
ダウンロードした exe ファイルを実行.
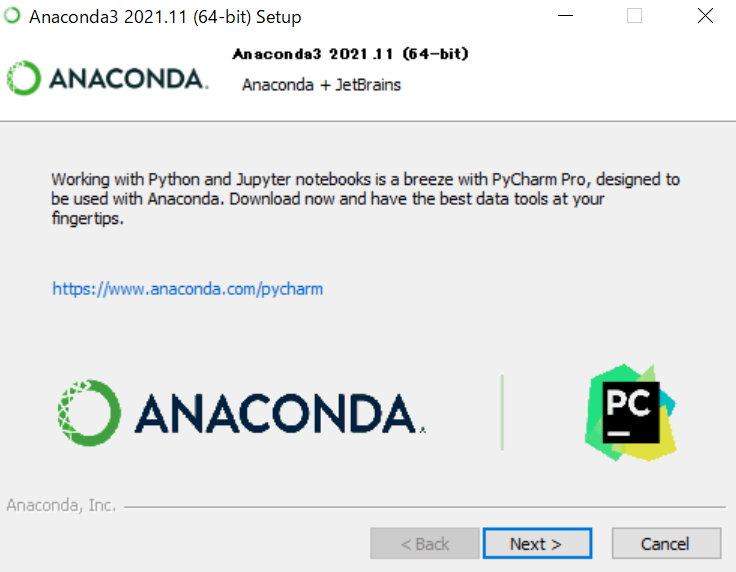
次のようなウィンドウが出るので,”Next”
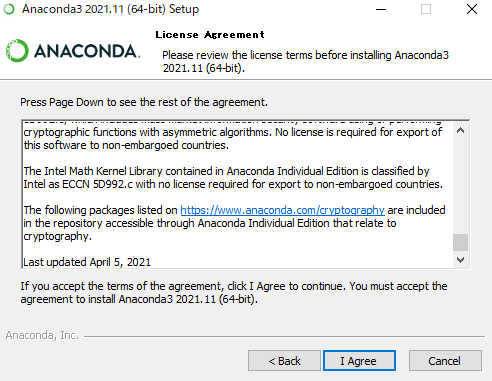
続けて,”I Agree”.
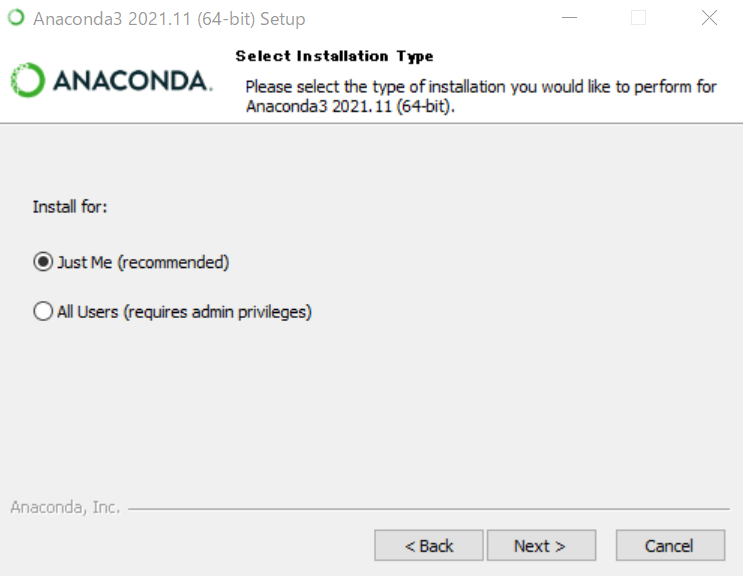
インストールするユーザーの選択.必要に応じて好きな方を選ぶ.
今回は,”Just Me” を選択し,”Next”.
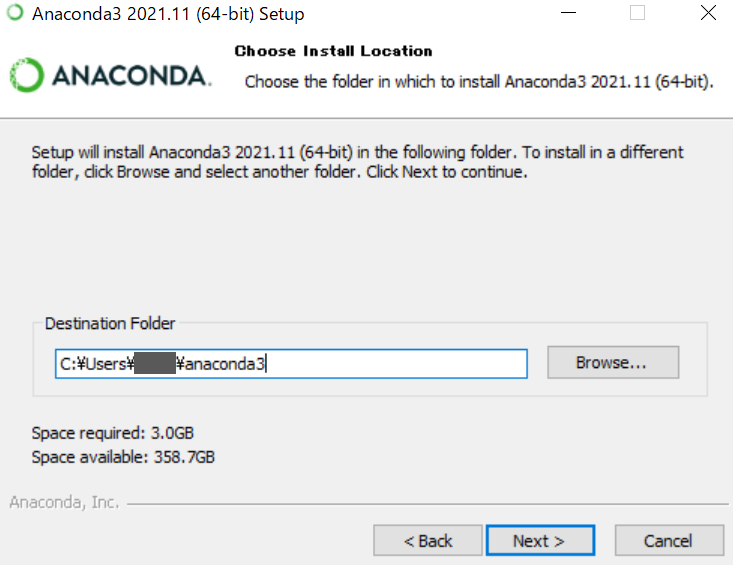
インストール先の選択.基本的にデフォルトの設定のままでよいだろう.
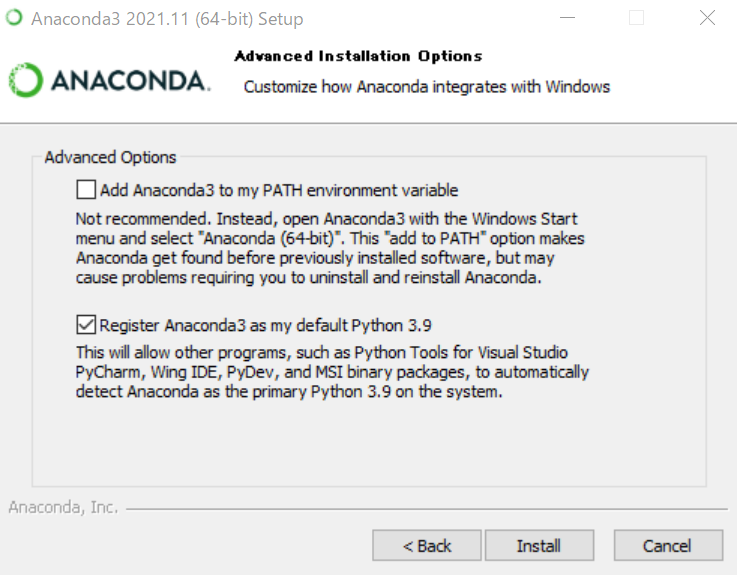
Advanced Options もデフォルトのまま.
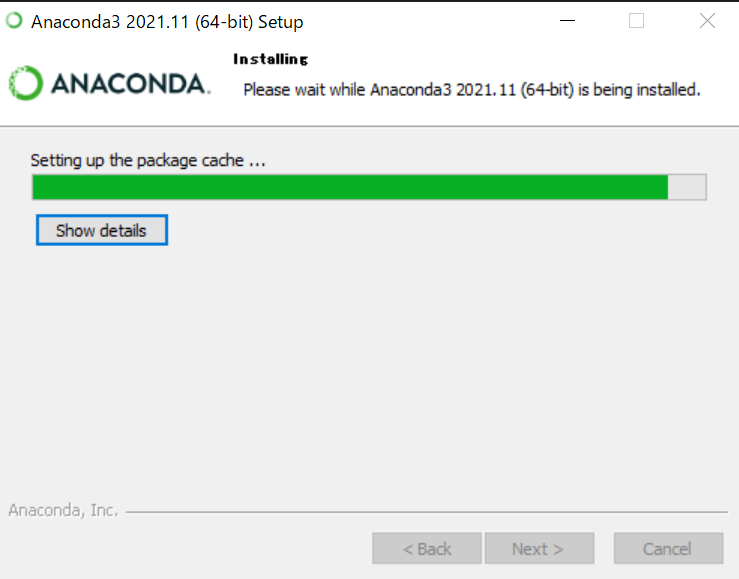
“Install” を選択.
しばし待機する.
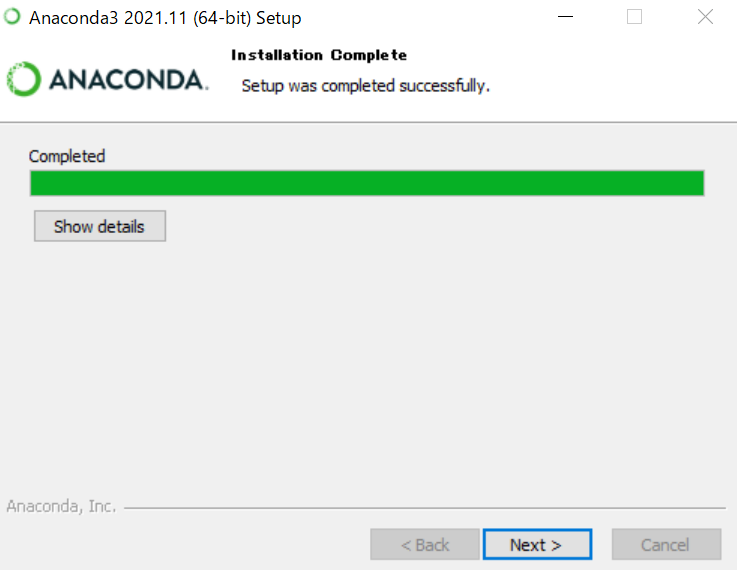
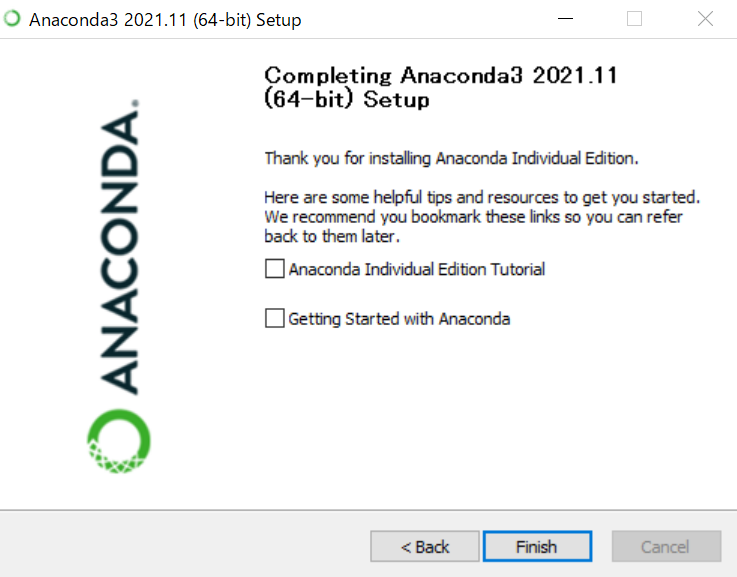
“Completed” と出たら,”Next” を押す.
続けて,”Next”.
別に必要ないので,チェックをどちらも外して,”Finish”!
環境の作成
Anaconda がインストールできたら,環境構築をする.
検索ボックスに “Anaconda Prompt” と打ち込み, Anaconda Prompt (anaconda3) を開く.
開くと,始めは base 環境にいるので,(base) C: \Users\ユーザー名> と表示されているはずである.
そこに,conda create -n 仮想環境名 python=3.9 と打ち込み,新しい仮想環境を作成する.
仮想環境名は好きに名付けて良い.
python バージョンは,2021年12月19日現在,3.10 が最新であるが,まだ対応していないパッケージが多数あるので,3.9 が最適である.
他のPCにある環境を移したい場合は,yaml ファイルなどを元に環境構築する.conda env create -n 仮想環境名 -f ファイル名.yml
環境を作成したら,activate 仮想環境名 で,作成した環境内に入る.
Anaconda Prompt でのコマンドは,「Anaconda のよく使うコマンド集」を参照
Jupyter Lab のインストール
Jupyter Lab をインストールする.
公式サイトはこちら
Project Jupyter “Installing Jupyter Software” https://jupyter.org/install
作成した環境内で,コマンド conda install -c conda-forge jupyterlab と入力する.
パッケージのインストール
Numpy, Scipy, Pandas, Matplotlib などの必要なパッケージを適座インストールする.
どのパッケージも,”conda パッケージ名” のようにして検索すると,Anaconda.org のサイトが出てきて,インストールする際のコマンドを調べられる.
例えば,Numpy ならば,conda install -c anaconda numpy である.
Jupyter Lab の設定
コマンド jupyter lab を入力し,Jupyter Lab を開く.
Jupyter Lab が開けたら,上のタブから “Setting”>”Advanced Settings Editor” を開く.
Advanced Settings Editor では,右側の “User Preferences” に設定を JSON 形式で書き込んでいく.
まず,”Extension Manager” を選択し,
{
    "disclaimed": true,
}
これによって,拡張機能が使用可能になる.
次に,”Notebook” や “Theme”, “Keyboard Shortcuts” などを好みに応じて設定する.
自分の場合は,”Notebook” が
{
    // Notebook
    // @jupyterlab/notebook-extension:tracker
    // Notebook settings.
    // **************************************
    // Code Cell Configuration
    // The configuration for all code cells.
    "codeCellConfig": {
        "autoClosingBrackets": true,
        "fontFamily": "源ノ角ゴシック Code JP",
        "fontSize": null,
        "lineHeight": null,
        "lineNumbers": true,
        "lineWrap": "on",
        "matchBrackets": true,
        "readOnly": false,
        "insertSpaces": true,
        "tabSize": 4,
        "wordWrapColumn": 80,
        "rulers": [],
        "codeFolding": false,
        "lineWiseCopyCut": true
    },
    // Default cell type
    // The default type (markdown, code, or raw) for new cells
    "defaultCell": "code",
    // Shut down kernel
    // Whether to shut down or not the kernel when closing a notebook.
    "kernelShutdown": false,
    // Markdown Cell Configuration
    // The configuration for all markdown cells.
    "markdownCellConfig": {
        "autoClosingBrackets": false,
        "fontFamily": "源ノ角ゴシック Code JP",
        "fontSize": null,
        "lineHeight": null,
        "lineNumbers": true,
        "lineWrap": "on",
        "matchBrackets": false,
        "readOnly": false,
        "insertSpaces": true,
        "tabSize": 4,
        "wordWrapColumn": 80,
        "rulers": [],
        "codeFolding": false,
        "lineWiseCopyCut": true
    },
    // Raw Cell Configuration
    // The configuration for all raw cells.
    "rawCellConfig": {
        "autoClosingBrackets": false,
        "fontFamily": null,
        "fontSize": null,
        "lineHeight": null,
        "lineNumbers": true,
        "lineWrap": "on",
        "matchBrackets": false,
        "readOnly": false,
        "insertSpaces": true,
        "tabSize": 4,
        "wordWrapColumn": 80,
        "rulers": [],
        "codeFolding": false,
        "lineWiseCopyCut": true
    },
    // Recording timing
    // Should timing data be recorded in cell metadata
    "recordTiming": false,
    // Scroll past last cell
    // Whether to be able to scroll so the last cell is at the top of the panel
    "scrollPastEnd": true
}
“Text Editor” が
{
    // Text Editor
    // @jupyterlab/fileeditor-extension:plugin
    // Text editor settings.
    // ***************************************
    // Editor Configuration
    // The configuration for all text editors.
    // If `fontFamily`, `fontSize` or `lineHeight` are `null`,
    // values from current theme are used.
    "editorConfig": {
        "autoClosingBrackets": true,
        "fontFamily": "源ノ角ゴシック Code JP",
        "fontSize": null,
        "lineHeight": null,
        "lineNumbers": true,
        "lineWrap": "on",
        "matchBrackets": true,
        "readOnly": false,
        "insertSpaces": true,
        "tabSize": 4,
        "wordWrapColumn": 80,
        "rulers": [],
        "codeFolding": false
    }
}
“Theme” が
{
    // Theme
    // @jupyterlab/apputils-extension:themes
    // Theme manager settings.
    // *************************************
    // Theme CSS Overrides
    // Override theme CSS variables by setting key-value pairs here
    "overrides": {
        "code-font-family": "源ノ角ゴシック Code JP",
        "code-font-size": "16px",
        "content-font-family": "源ノ角ゴシック Code JP",
        "content-font-size1": "16px",
        "ui-font-family": null,
        "ui-font-size1": "16px"
    },
    // Selected Theme
    // Application-level visual styling theme
    "theme": "JupyterLab Dark",
}
である.
拡張機能のインストール
Jupyter Lab の拡張機能をインストールする.
拡張機能を導入する上で,Extension Manager の設定で "disclaimed": true とする必要がある他,パッケージ Node.js をインストールする必要がある.
Node.js のインストールは,Anaconda Prompt で,conda install -c anaconda nodejs
jupyterlab-git
Jupyter Lab 上で Git 管理ができるようになる拡張機能.
PC に既に Git がインストールされていることが必要.
コミットやプッシュ,差分や履歴の閲覧が可能となる.
“jupyterlab/jupyterlab-git: A Git extension for JupyterLab” GitHub https://github.com/jupyterlab/jupyterlab-git
インストール
インストールするコマンドは,conda install -c conda-forge jupyterlab jupyterlab-git.
jupyterlab-lsp
コード補完等のコードを書く上で便利な機能を提供する拡張機能.
“jupyter-lsp/jupyterlab-lsp: Coding assistance for JupyterLab (code navigation + hover suggestions + linters + autocompletion + rename) using Language Server Protocol” GitHub https://github.com/jupyter-lsp/jupyterlab-lsp
インストール
ます,拡張機能本体をインストールする.
conda install -c conda-forge jupyterlab-lsp次に,LSP サーバーをダウンロードする.
conda install -c conda-forge python-lsp-server r-languageserver最後に,Jupyter Lab を再起動する.
設定
Advanced Settings Editor で jupyterlab-lsp の設定をする.
自分の場合は,”Code Completion” が
"continuousHinting": true“Code Diagnostics” で
{
    // Code Diagnostics
    // @krassowski/jupyterlab-lsp:diagnostics
    // LSP Diagnostics (linter results) settings.
    // ******************************************
    // Default severity level
    // Default level of the severity for diagnostics without severity provided by the language server.
    "defaultSeverity": "Warning",
    // Disable
    // Disable this feature. Requires reloading JupyterLab to apply changes.
    "disable": false,
    // Diagnostic codes to ignore
    // Codes of diagnostics which should not be shown in the panel nor highlighted in the editor.
    "ignoreCodes": [
        "E501",
        "W293"
    ],
    // Diagnostic messages to ignore
    // Regular expressions matching messages of diagnostics which should not be shown in the panel nor highlighted in the editor.
    "ignoreMessagesPatterns": [
        "undefined name 'display'",
        "W605 invalid escape sequence '\\\\.'"
    ]
}
Jupyterlab Code Formatter
コードを見やすく整形してくれる拡張機能.
“Welcome to Jupyterlab Code Formatter’s documentation!” Jupyterlab Code Formatter 1.0.0 documentation https://jupyterlab-code-formatter.readthedocs.io/en/latest/index.html
インストール
まず,拡張機能本体をインストールする.
conda install -c conda-forge jupyterlab_code_formatter次に,Formatter をインストールする.
自分は Black を使用しているので,Black をインストール.
conda install black isort設定
Advanced Settings Editor で Jupyterlab Code Formatter の設定をする.
自分の場合は,”Jupyterlab Code Formatter” で,
{
    // Black Config
    // Config to be passed into black's format_str function call.
    "black": {
        "line_length": 119,
        "string_normalization": true
    },
}
これによって,1行の長さを119文字まで許可している.
また,”Keyboard Shortcuts” にて
{
    "shortcuts": [
        {
            "command": "jupyterlab_code_formatter:black",
            "keys": [
                "Ctrl K"
            ],
            "selector": ".jp-Notebook.jp-mod-editMode"
        }
    ]
}
として,Ctrl+K でコード整形がされるように設定している.
参考文献
- Anaconda “Individual Edition” https://www.anaconda.com/products/individual
- Project Jupyter “Installing Jupyter Software” https://jupyter.org/install
- “jupyterlab/jupyterlab-git: A Git extension for JupyterLab” GitHub https://github.com/jupyterlab/jupyterlab-git
- “jupyter-lsp/jupyterlab-lsp: Coding assistance for JupyterLab (code navigation + hover suggestions + linters + autocompletion + rename) using Language Server Protocol” GitHub https://github.com/jupyter-lsp/jupyterlab-lsp
- “Welcome to Jupyterlab Code Formatter’s documentation!” Jupyterlab Code Formatter 1.0.0 documentation https://jupyterlab-code-formatter.readthedocs.io/en/latest/index.html